Device config and modeling
Introduction
The Device Manager (DeMa) is the component of Digital Enabler platform that allows device owner to connect sensors and other IoT devices to the platform.
Vocabulary
- Category: Device category, it could be environment, parking, controlRoom, etc.
- Context: reference context of the device, it could be a city, a company, an organization, etc.
- Data Format: format of the data provided by the device (e.g. JSON, Ultralight 2.0- UL2.0, SIGFOX, LWM2M, OPCUA, CayenneLpp, CBOR, custom, etc )
- Hub: reference HUB. It could be IDAS, Kapua, DiVe, etc
- Pull device: device that pull data from a server. The platform asks to device for new measures.
- Push device: device that pushes data to a server (i.e. it sends sensor measurements)
- Protocol: Protocol used by the device to provide data (e.g. HTTP, MQTT, OPCUA, LORA, SIGFOX, CoAP)
- User organization: users of the same organization can view the same devices. An user can belong to multiple organizations.
Access DeMa
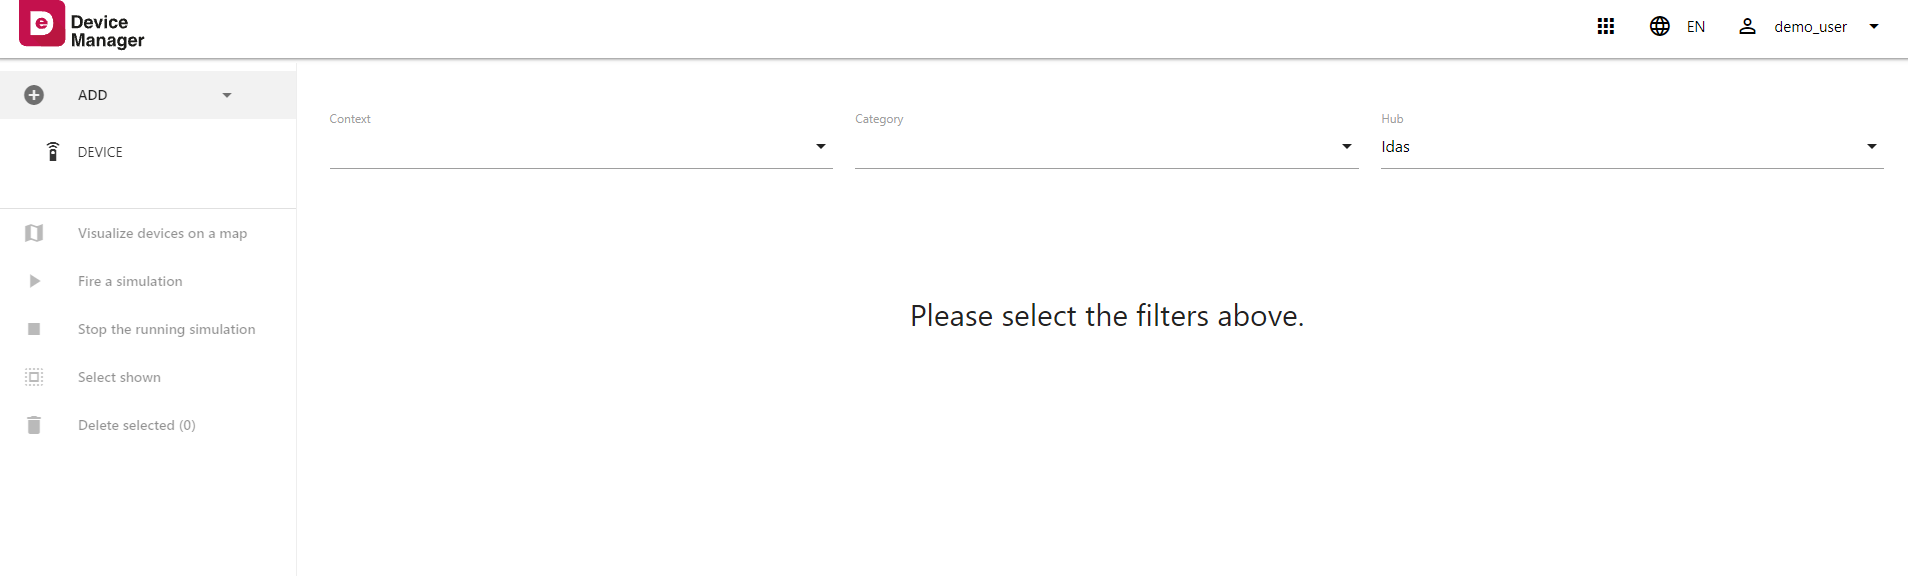
The URL to access this tool is https://devices.demo.digital-enabler.eng.it. The system asks for credentials. After successfully logged in, the user will be redirected to the DeMa's landing page.
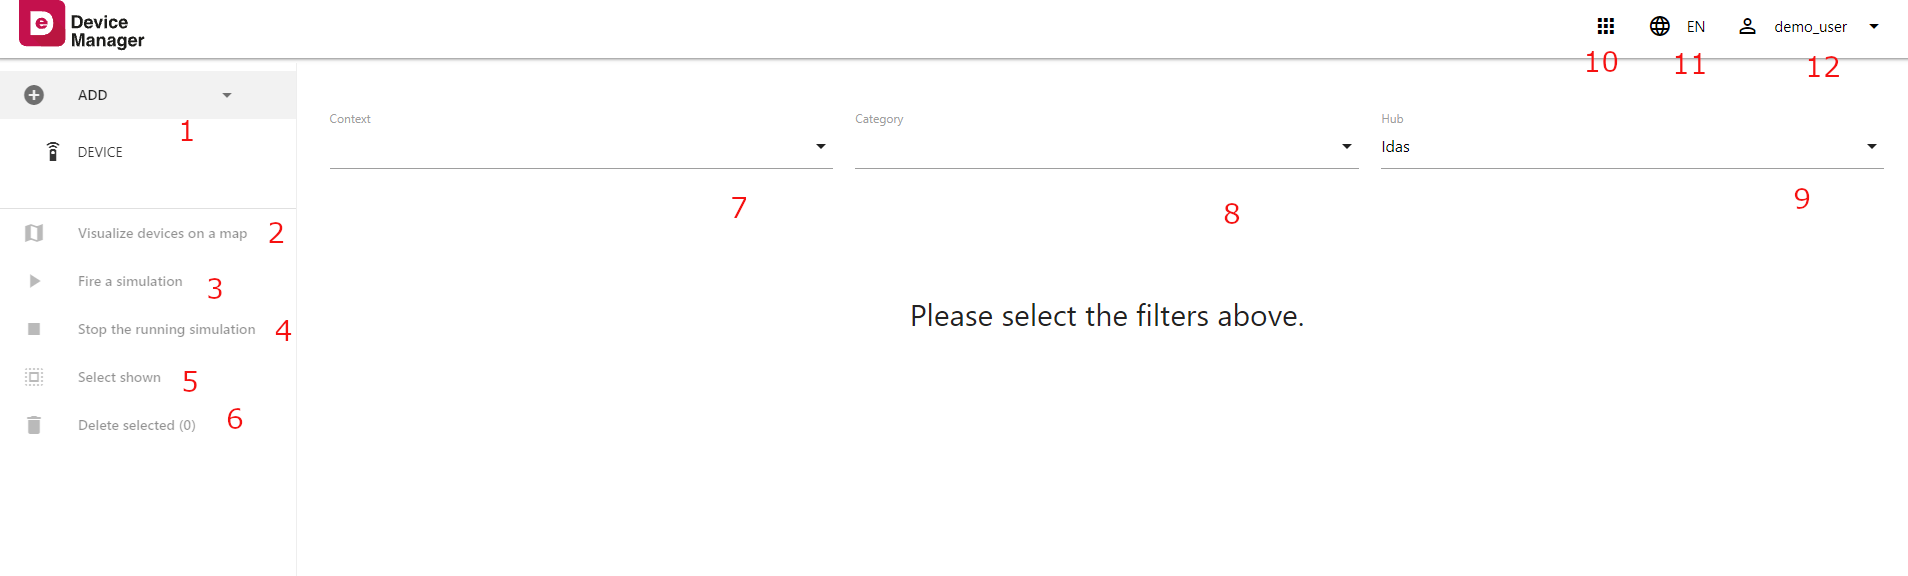
Landing page shows:
in the center:
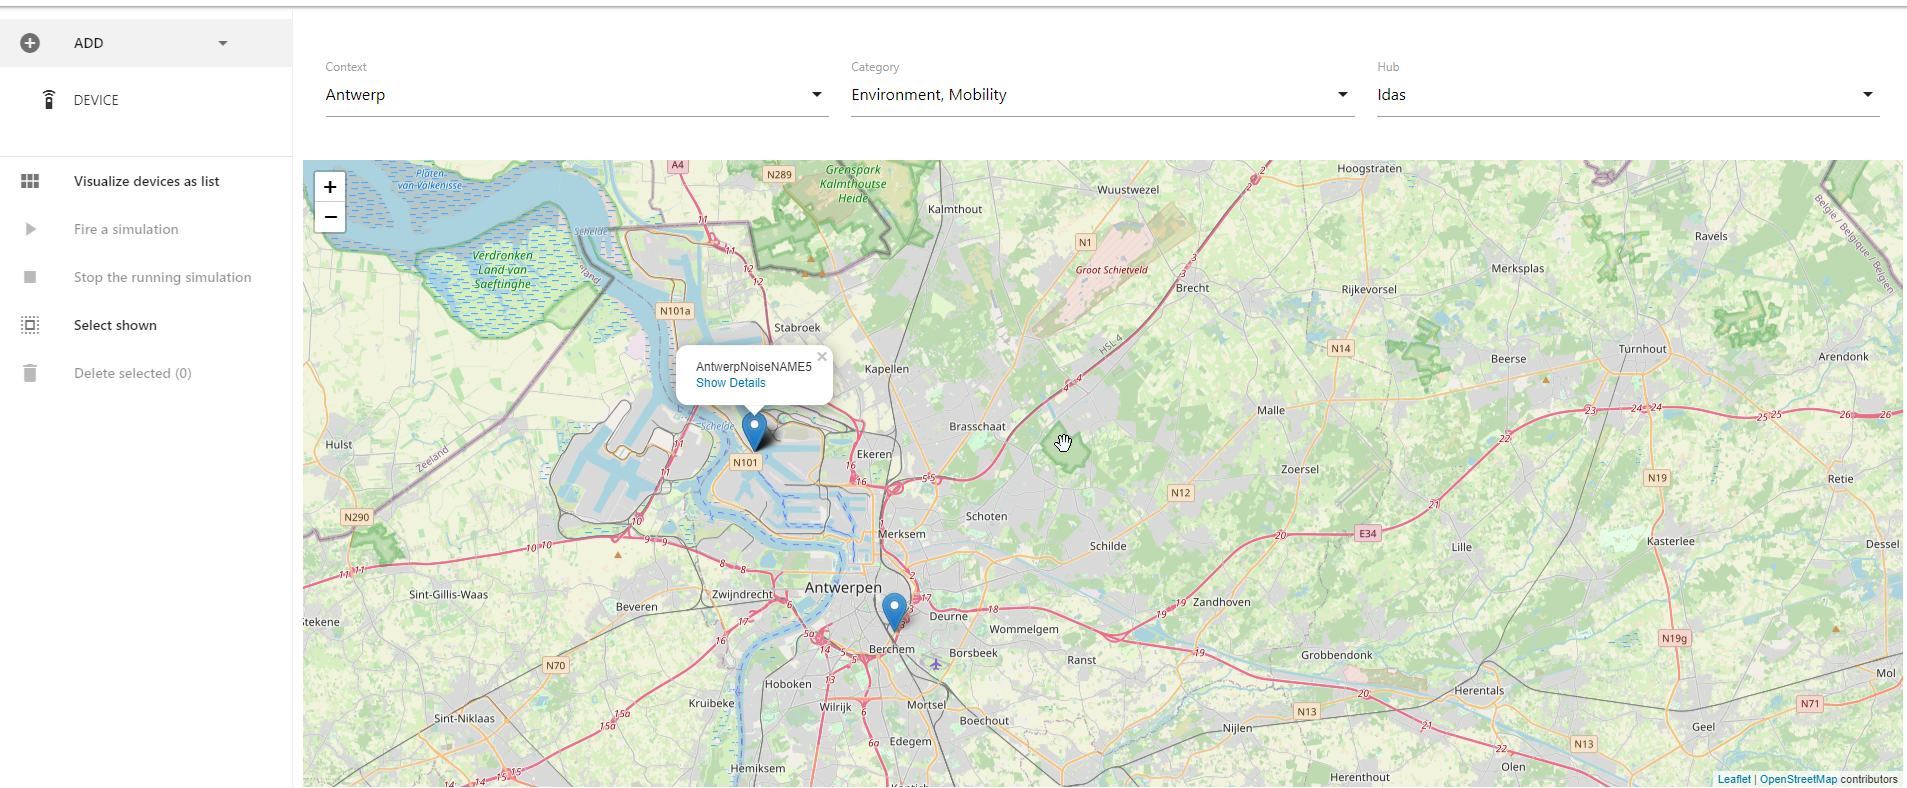
- 3 drop-down menus for filtering devices: Context (7), Category (8), Hub (9).
on the left:
- drop-down menu for device registration (1)
- buttons for visualization all of our devices on a map (2)
- button to start and stop simulation on selected devices (3, 4)
- buttons for selection of all devices that appear as a result of filtering devices (5)
- button for deletion of selected devices (6)
top right:
- button to show the menu of other tools (10)
- button for change language (11)
- button for managing user account (12)
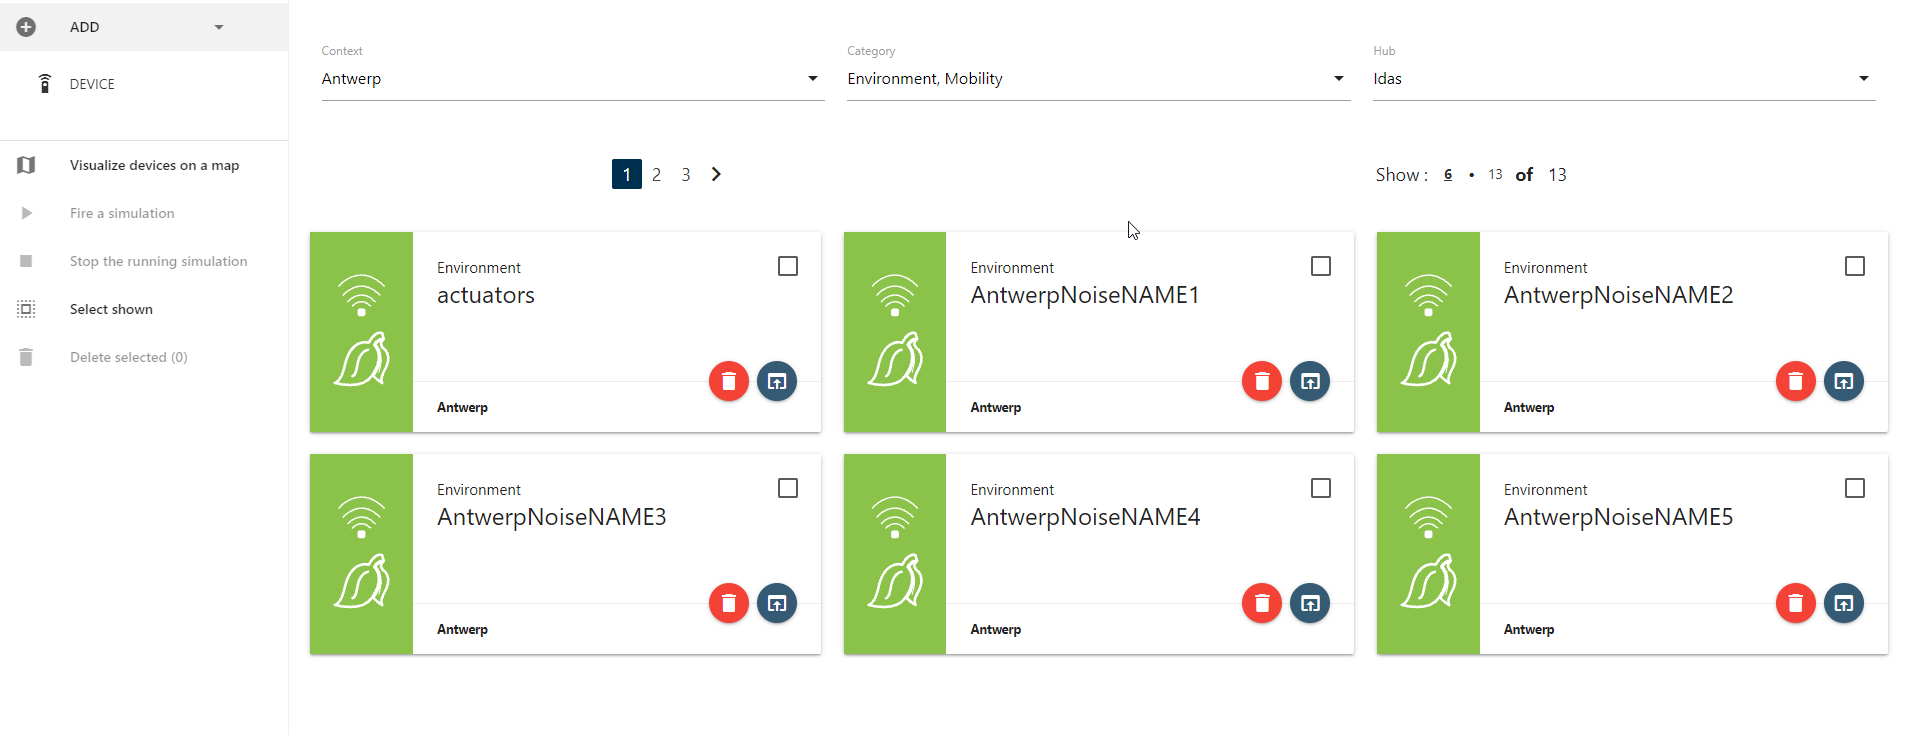
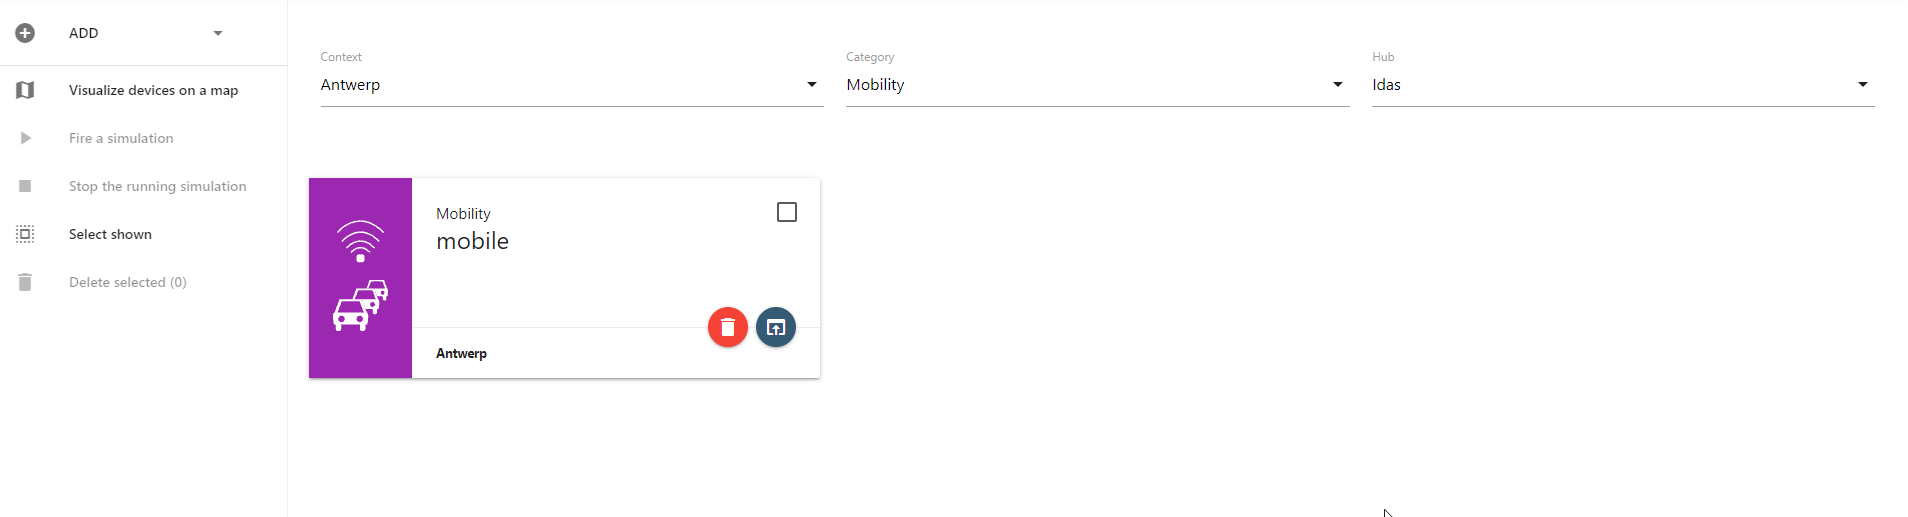
In the following picture you can see an example of filtering result on the devices as badge list:
In the following picture you can see an example of filtering result on the devices map marker:
Create new device
To create a new device click on section DEVICE that are located inside drop-down menu ADD.
New window will appear as on photos below:

Create device fields description:
- Context - kind of context that are previous defined.
- Category - automatically filled with the first option for this context, it can be changed based on user requirements.
- Hub - HUB to which the data of this device refers
- Device name - name that user gives to the device (sometimes it is different than device_id)
- User organization - name of the user organization
- Protocol - available protocols (e.g. HTTP , MQTT, OPCUA, LORA)
- Data Format - possible format of selected protocol. Example for HTTP (JSON, UL2.0)
- Retrieve Data - slider for push data to server or pull data from server. if we choose push data will appear two extra fields:
- Device authentication mode - basic (username/password) , device apikey
- Device command - commands for actuators (example on/off)
- Device attributes - they corrensponds to the measures (e.g. temperature, humidity, wind, occupancy, etc)
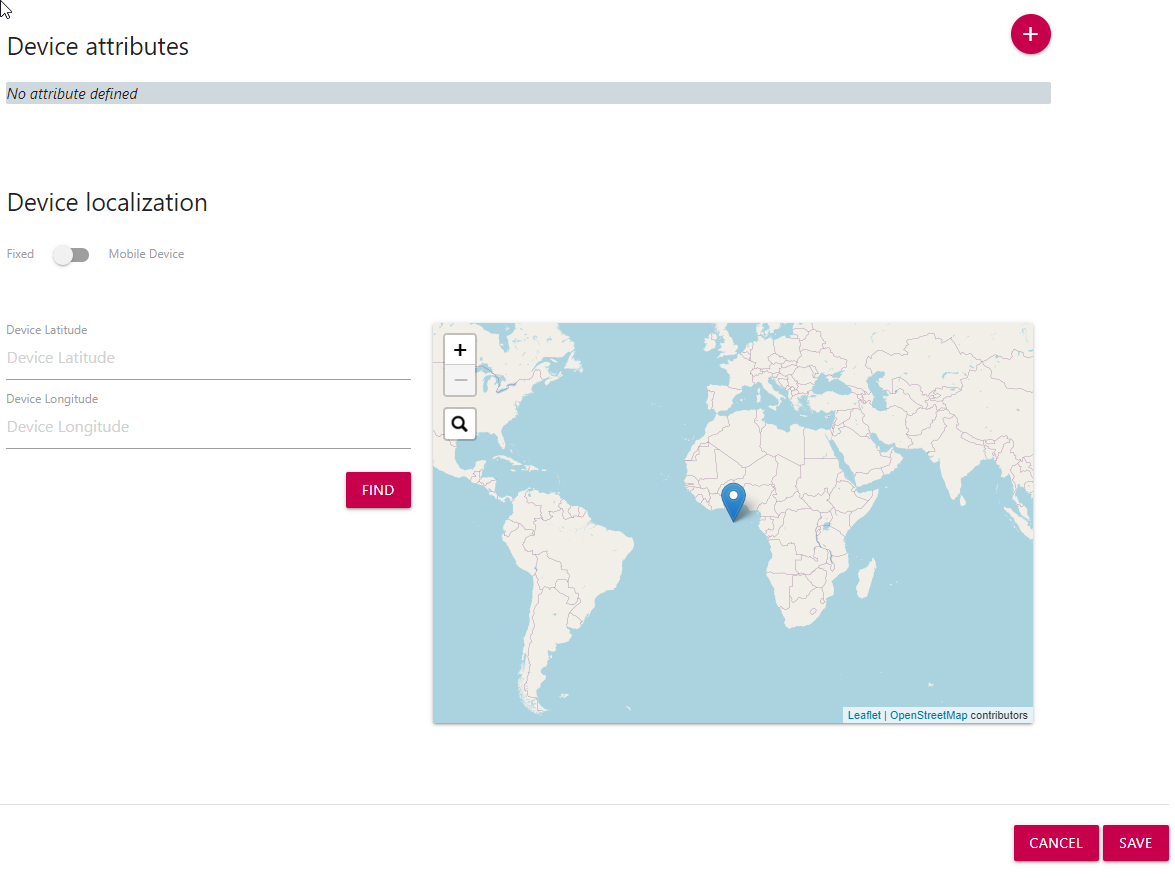
- Device localization slider
- Mobile device (the device provides dynamic management of the position)
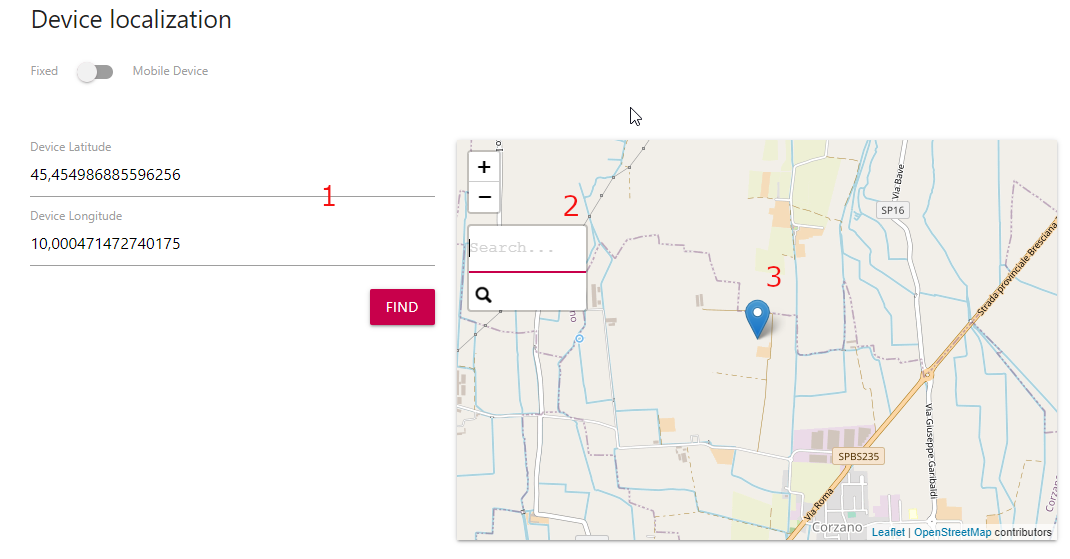
- Fixed - we can set device in three ways:
- Writing latitude and longitude in input field
- Typing places after we click on search button
- Pointing placeholder in map
Important thing to mention that there are two modes of devices work.
- Push mode of devices is used when device will push data (i.e. send sensor measurements) to the platform. It is set as a default mode when user opens a page for creating a new device, so user does not need to change anything in order to create a device in "Push" mode.
- Pull mode of devices is mode when platform ask devices for new measures, so there are added few new input fields compared to Push mode. This mode requires the "Device endpoint" where the data will be pulled from, the Authentication method (if required) can be basic one with username and password, or with device API key.
After a filling all create device field click on button save to create new device or on button cancel for canceling creation. You will be redirected to the landing page where you can see new device that you created.
Basing on the protocol that the user chooses, some additional or different fields are shown.
LoRa
LoRa supports 3 types of Data format : CayenneLpp, CBOR and custom decoded by the LoRaWAN application server.
Considering for example, LoRa protocol we have 2 different LoRa network: The Things Network (TTN) and Lora Server (aka ChirpStack). TTN is an independent stack out of the Digital Enabler, an instance of the Lora Server is instead released together the Digital Enabler.
If the user chooses TTN, the following fields appear:
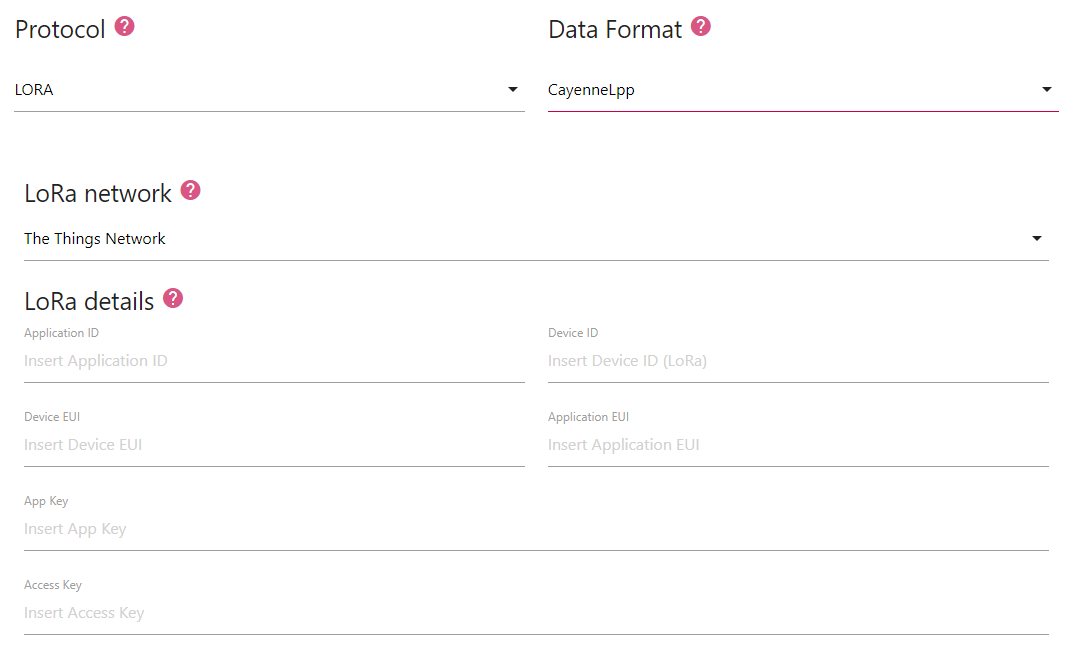
All the values to fill in these fields are available on the TTN console, where the device must have been registered before.
If the user chooses Lora Server, the following fields appear:
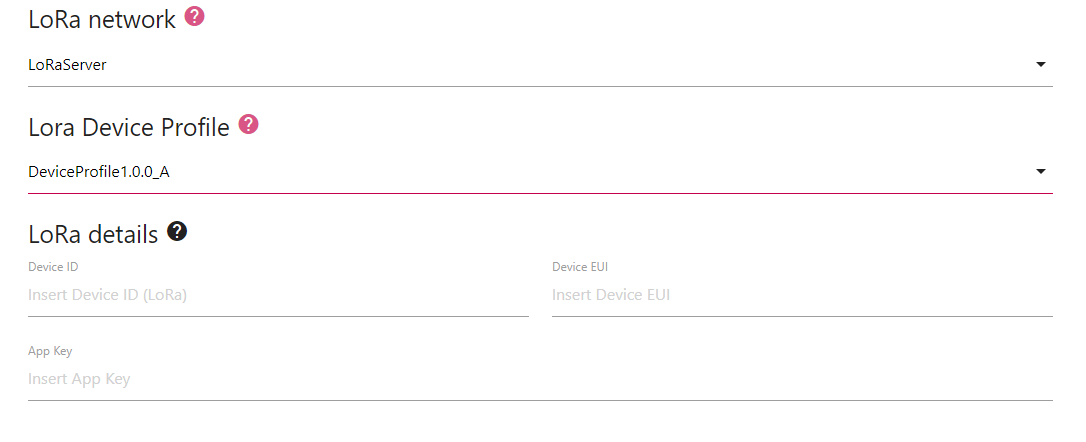
A device-profile defines the device capabilities and boot parameters that are needed by the network-server for setting the LoRaWAN radio access service. On the Digital Enabler Lora App Server there are some default values, the user can ask to extend it.
Device ID, Device EUI and App Key are configured on the device to be registered.
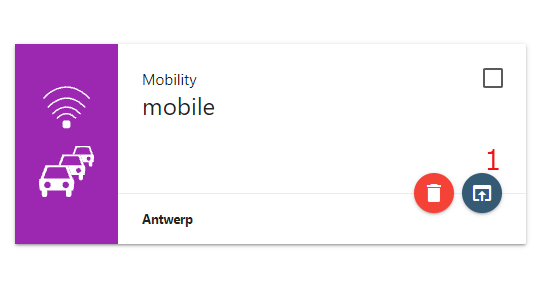
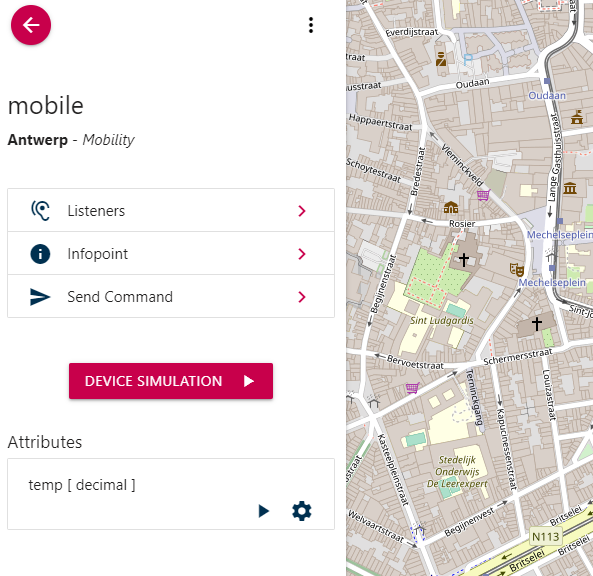
Device details
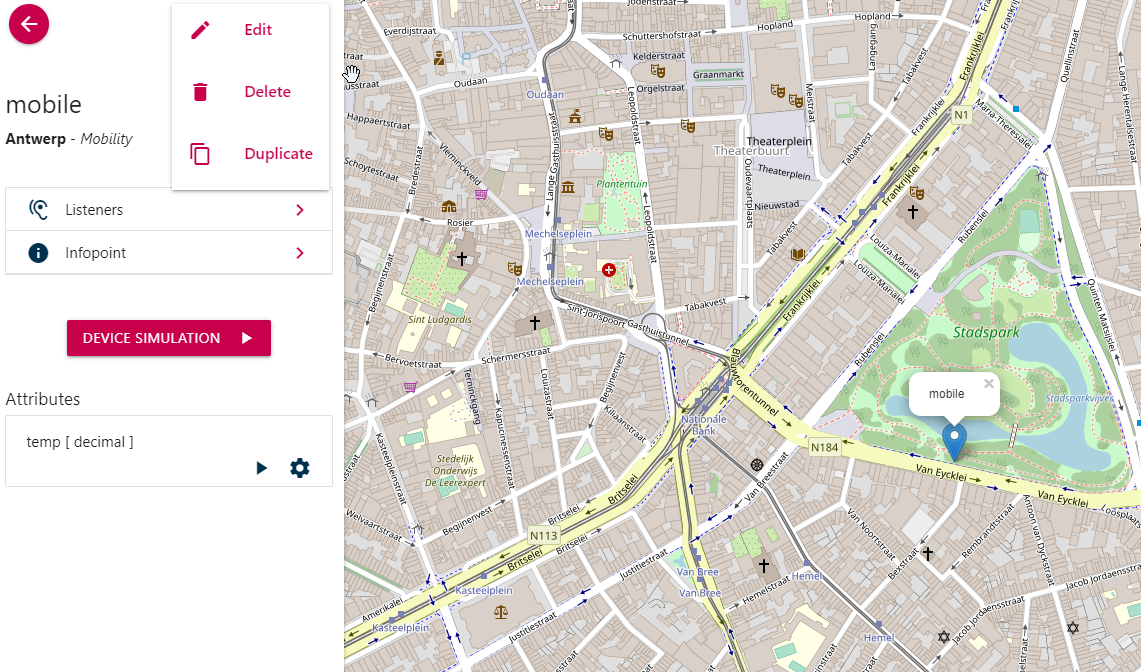
To see device details click on details button shown on the following picture (1):
Some details about the device are shown (location, attribute, other buttons, etc)
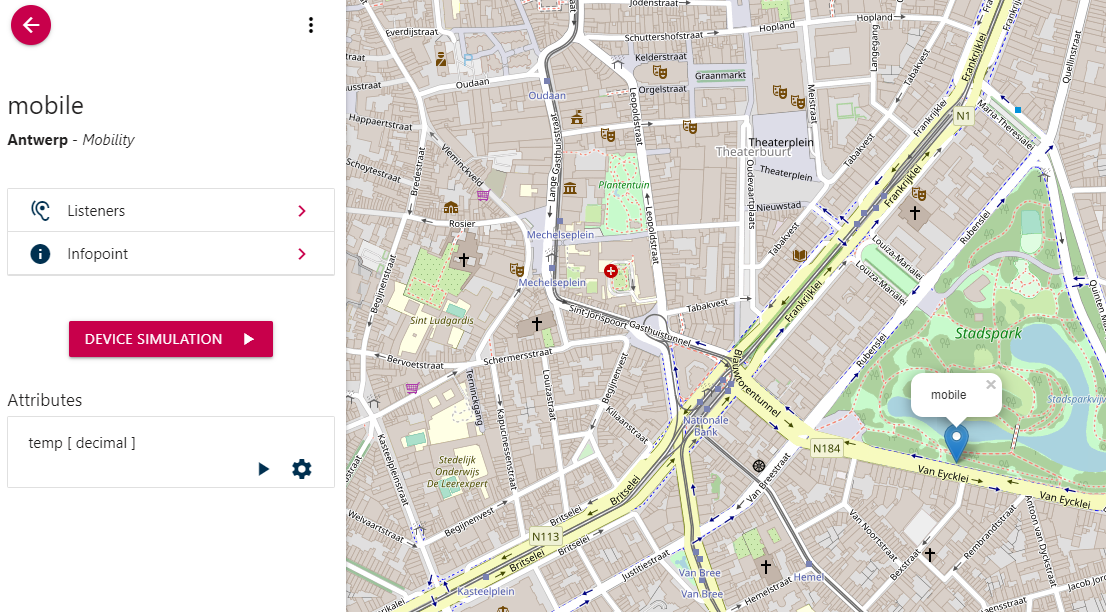
Clicking on the 3 vertical dots button (aka kebab menu), the user can
- edit
- delete
- duplicate
the current device
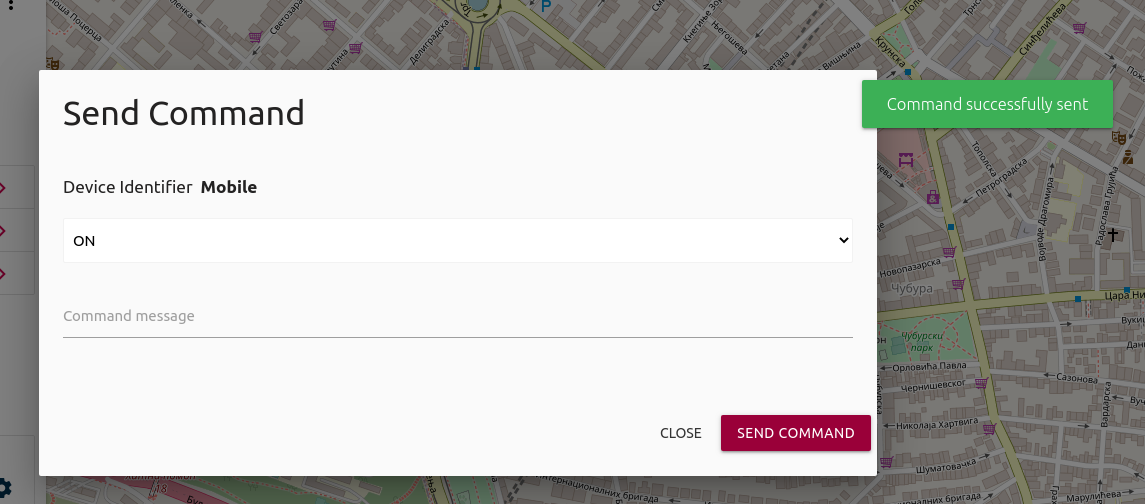
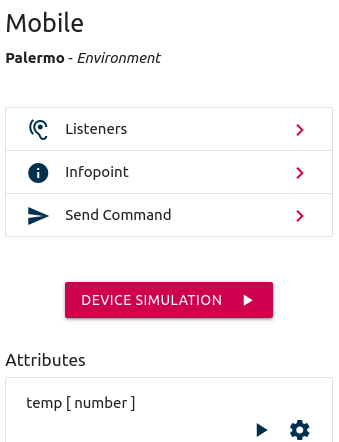
Send command to device
There is also the possibility to send command to devices that accept them (e.g. PULL device with actuators). To do that the user needs to click on array in section send command.
A new popup will appear as on the following image:
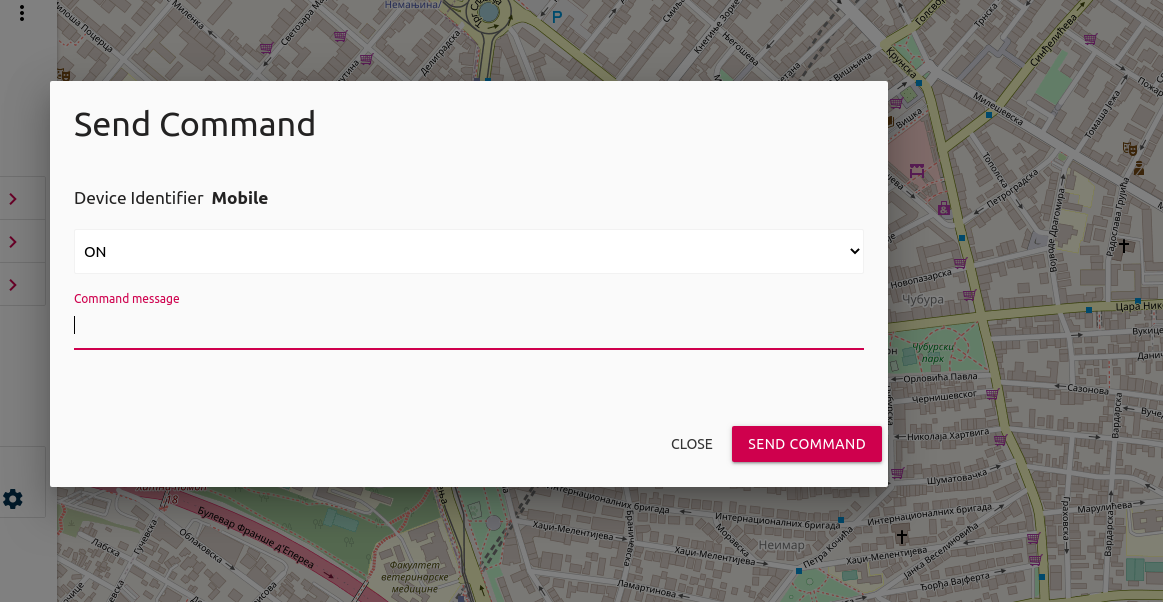
You can choose that you are defined on creation device page from drop down list.
After that by clicking on button send command it will be send to devices.